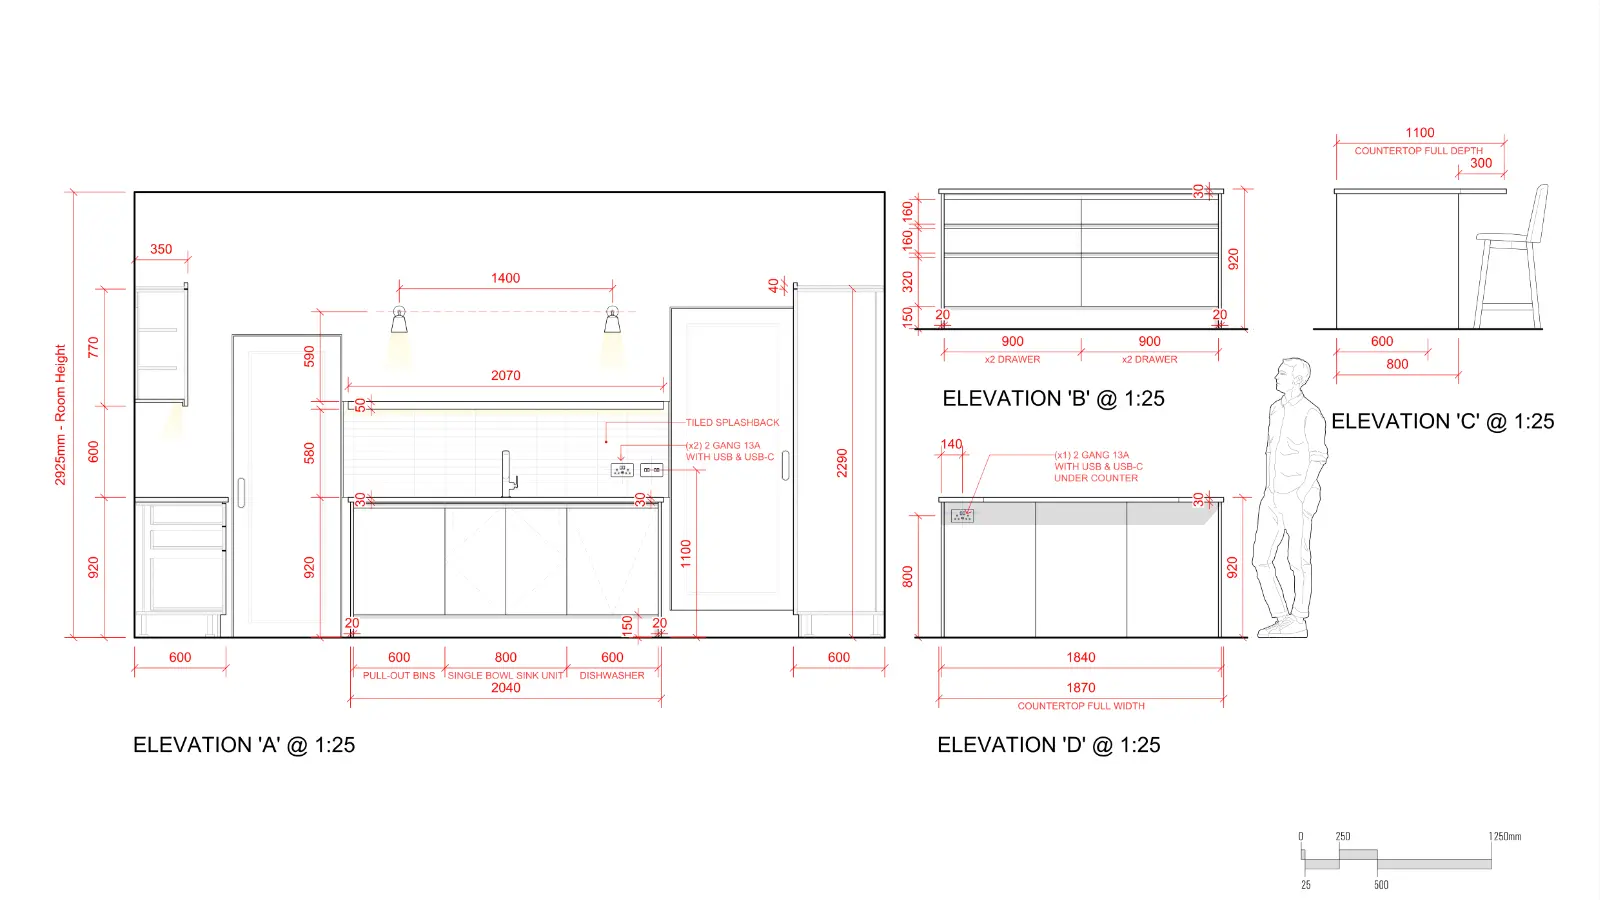
Every designer who drafts eventually collects a block library. Very few build a layer standard, and that is backwards — because blocks are the part you can download for free, and layers are the part that decides whether your drawing survives contact with anyone else.
You can find five thousand free CAD blocks in about ninety seconds. You cannot download the decision about what a wall is called, what colour it is, and how thick it prints.
The short answer
Blocks are the part you can download in ninety seconds; the layer standard is the part you cannot, and it is what decides whether your drawing survives contact with anyone else. Nothing breaks on your screen — it breaks at the edges, where the file meets other people: a contractor prints a plan where every line has the same weight, so nothing reads as structure; a joiner freezes a layer and loses the dimensions with the hatching; you reopen your own file eight months later and cannot remember what Layer1 was. Name by function, control weight by colour, and write it down once — or start from a standard that already exists.
What actually breaks without one
Not the drawing on your screen. That looks fine. It breaks at the edges, where the file meets other people.
A contractor opens your plan and every line prints at the same weight, so nothing reads as structure and nothing reads as furniture. A joiner gets an elevation where the dimension text sits on the same layer as the hatching, so freezing one loses the other. You come back to your own file eight months later and cannot remember whether Layer1 was the existing wall or the demolished one.
Each of these costs an afternoon. The layer standard costs one afternoon, once.
A naming convention that works
The principle: sort alphabetically into sensible groups, and read unambiguously to someone who has never seen your files.
Use a prefix that groups by discipline, then the element, then the state:
A-WALL-EXST · A-WALL-DEMO · A-WALL-NEW
I-FURN-LOOS · I-FURN-BULT
I-FNSH-FLOR · I-FNSH-WALL
A-DOOR · A-WNDW · A-DIMS · A-TEXT · A-ANNO
Two rules make it stick. Never abbreviate inconsistently — if it is FNSH once it is FNSH everywhere. And never create a layer mid-drawing; if the standard does not have it, decide where it belongs first, then add it to the standard so the next project inherits the decision.
The specific letters matter far less than using the same ones every time. A mediocre standard applied consistently beats a perfect one applied occasionally.
Colour is lineweight
This is the part most self-taught drafters never learn, and it is the difference between a drawing that prints correctly and one you fight with every time.
In colour-dependent plotting, the colour of a layer does not describe how it looks — it describes how thick it prints. Your CTB file maps each colour index to a pen weight. So you assign colours by hierarchy, not by preference.
A workable ladder: heavy colours for cut elements like walls in section, medium for the main objects, light for furniture and fittings, lightest for hatching, dimensions and notes. Set it once in a CTB, and every drawing you produce prints with the same visual hierarchy without you thinking about it.
The test: print a plan in greyscale. If you cannot tell structure from furniture at a glance, the mapping is wrong — and a contractor on site will be reading exactly that greyscale print.
A starter layer list you can copy
Rather than adopt a national standard wholesale, most interior studios are better served by a short list they actually use. This one is deliberately small — a package is legible with about twenty layers, and unmanageable with two hundred.
| Layer | Holds | Prints |
|---|---|---|
| A-WALL-EXST | Existing walls to remain | Heavy |
| A-WALL-DEMO | Walls to be removed | Dashed, light |
| A-WALL-NEW | New construction | Heavy |
| A-DOOR / A-WIND | Openings and their swings | Medium |
| I-FURN | Loose furniture | Light |
| I-JOIN | Fitted joinery | Medium |
| I-FNSH-HATCH | Floor and wall finish hatching | Very light |
| I-EQPT | Appliances and sanitaryware | Light |
| E-LITE / E-POWR | Lighting; power and data | Medium |
| A-ANNO-DIMS | Dimensions | Light |
| A-ANNO-TEXT | Notes and labels | Light |
| A-ANNO-TAGS | Item tags and references | Light |
| X-REF | Anything linked in | Screened |
Two rules make it survive contact with other people: annotation never shares a layer with geometry, and hatching always sits on its own so it can be frozen without losing what it describes. Everything else is preference — but write your preference down, because a standard nobody has written is a habit, and habits do not transfer to a freelancer at eleven at night.
Setting it up once
Do it in a template file, not a drawing. A .dwt with your layers, text styles, dimension styles, title blocks and CTB attached means every new project starts correct rather than being corrected.
Include the things people forget: text styles at the sizes you actually use, dimension styles for each scale you draw at, a title block for each sheet size, and named page setups so plotting is one click rather than a small ritual.
Then never draft in anything else. The template is only worth what your discipline in using it is worth.
The handoff test
Here is how you know it is working. Send a drawing to someone who has never worked with you, with no explanation, and ask them to print it and tell you what they see.
If they can identify what is existing, what is new, what is being removed, and what is furniture — without asking a single question — the standard is doing its job. If they have to ask, the fix is in the layers, not in the drawing.
That test is also, not coincidentally, exactly what a contractor does with your drawing at seven in the morning on a site with no phone signal.